
SiteCam displays all the photos in a project by default. You can apply filters in your project to quickly isolate and find the photo you are looking for.
Filter Photos on Mobile
1. Open your project from the projects screen.
2. Tap on the Filter button from any of the tabs (Gallery, Plan, Map).
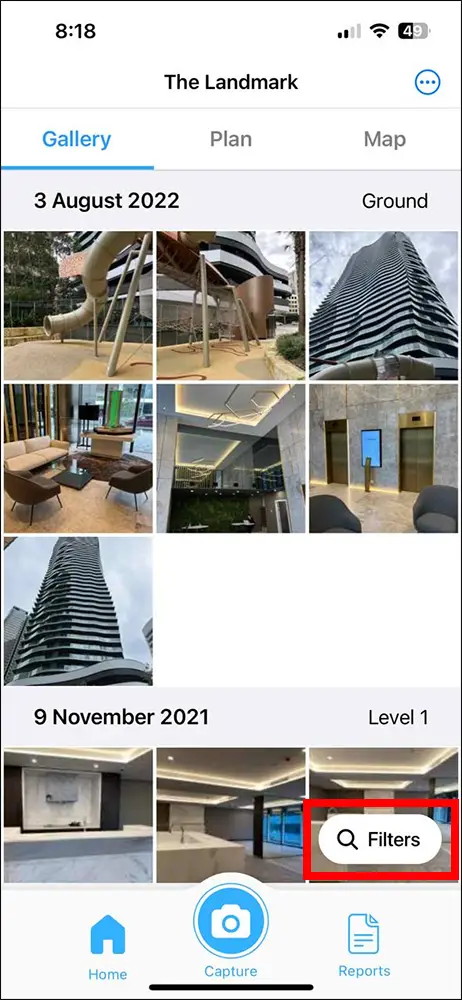
3. The filter panel will appear at the bottom of the screen.
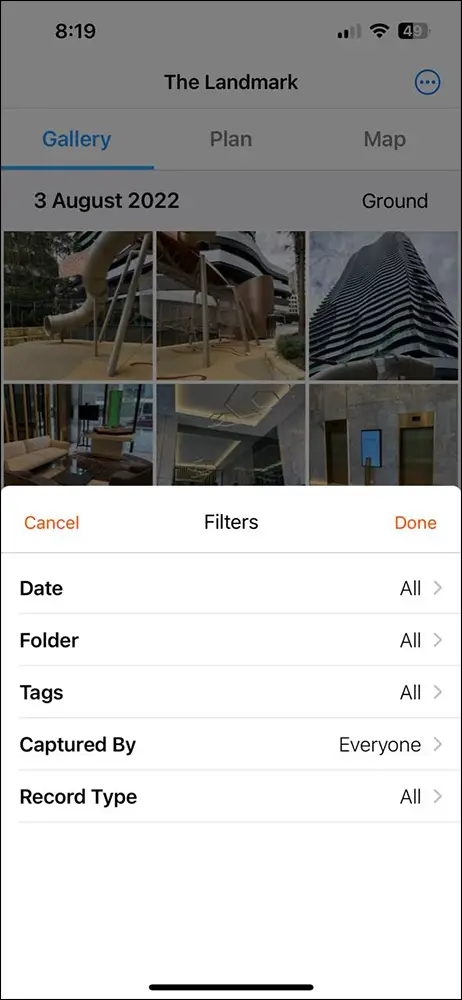
Types of filters available:
- Date (photo capture date)
- Folder
- Tags
- Captured By
- Record Type
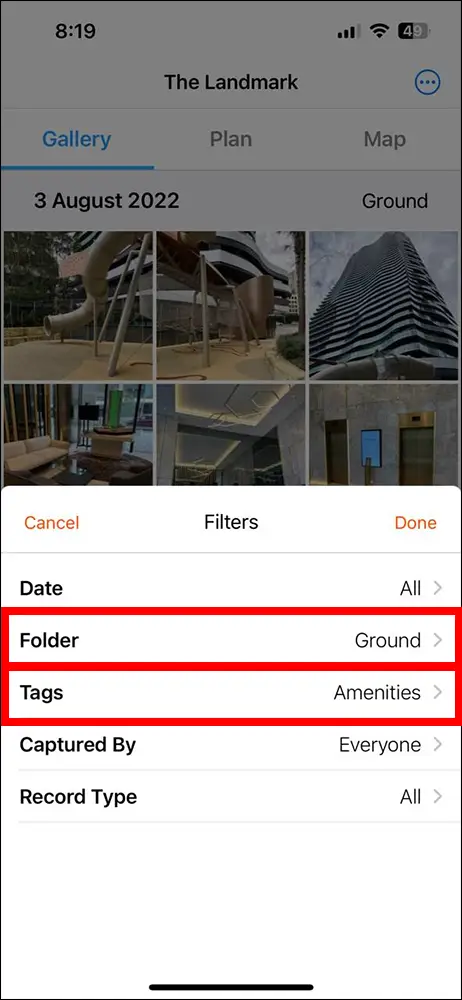
4. Select one or more filters and press the Done button to apply the filter. In this example, we are filtering to only show photos that are saved in the “Ground” folder with the tag “Amenities”.
5. All tabs will now display filtered results. You will notice that there is a number (with a red circle) next to the filter button. This indicates how many filters are currently active.
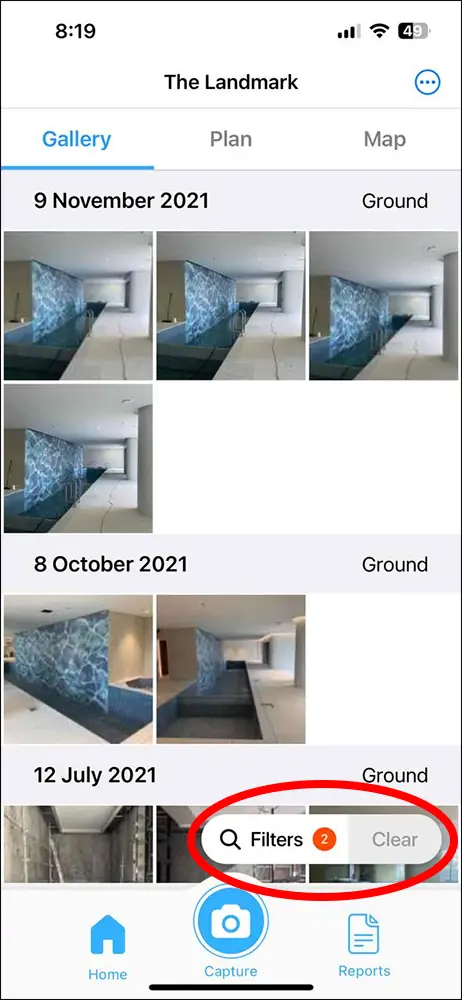
You can quickly clear all filters by tapping on the Clear button.
Filter Photos on Web App
1. Open your project from the projects screen.
2. Filters can be found at the top of the screen.
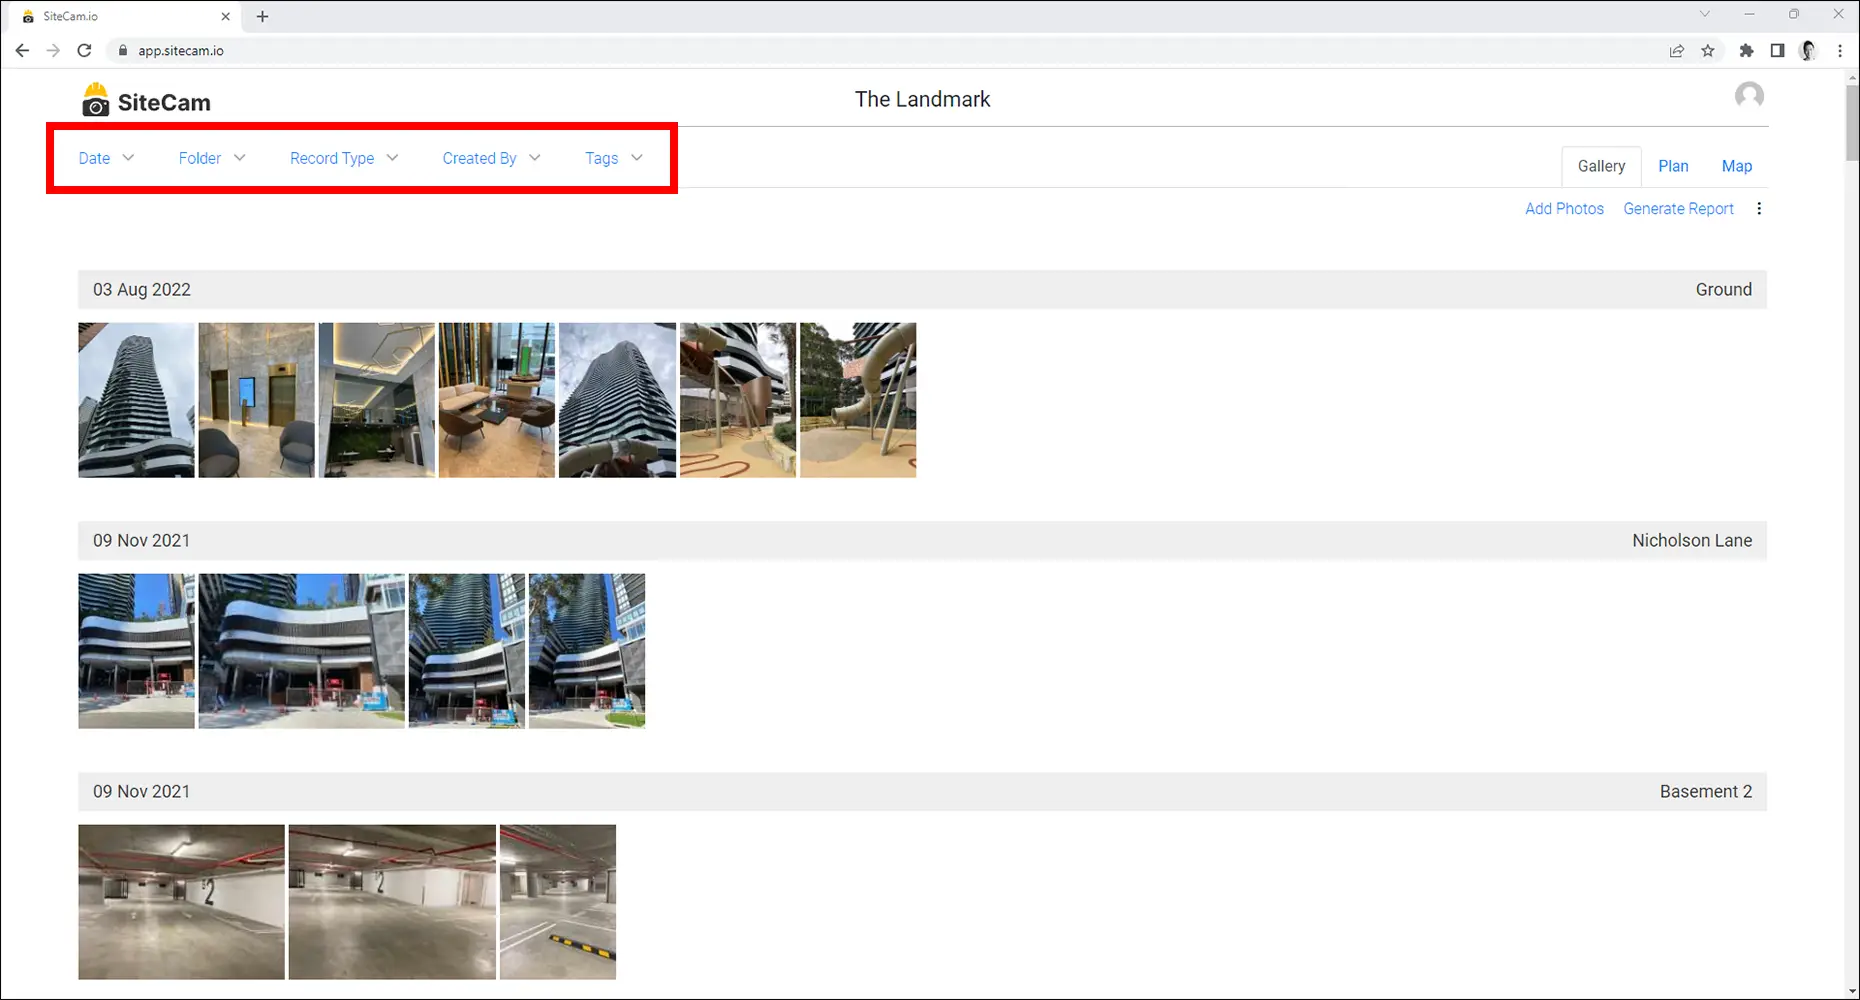
Types of filters available:
- Date (photo capture date)
- Folder
- Tags
- Captured By
- Record Type
3. Apply one or more filters. In this example, we are applying a filter to only show photos captured between 12 June 2020 to 3 Dec 2020 and saved to the “Ground” folder.
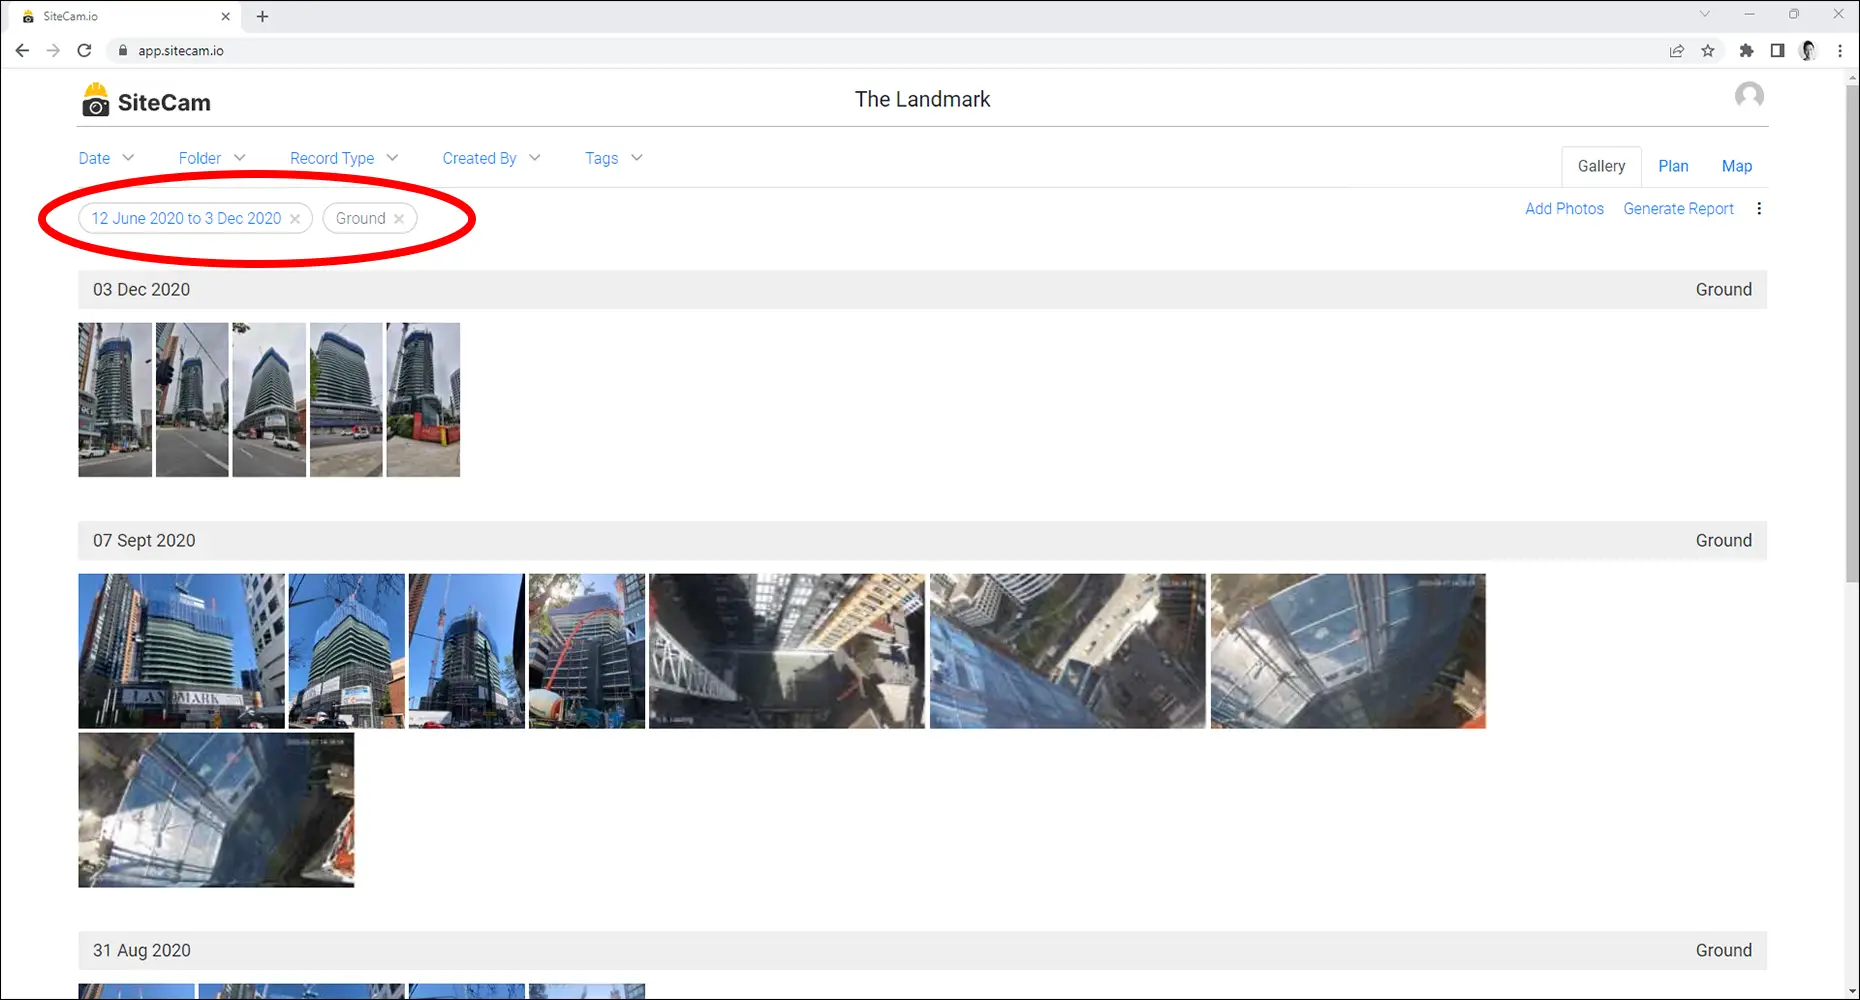
Current filters are displayed at the top. You can remove a filter by clicking on it or pressing the Clear All button to remove all filters.