
What is a SiteCam Project?
Before you get started, it’s important to understand how a SiteCam project works.
A SiteCam project consists of Folders. Photos you add into a SiteCam project are organized into folders (just like on your computer).
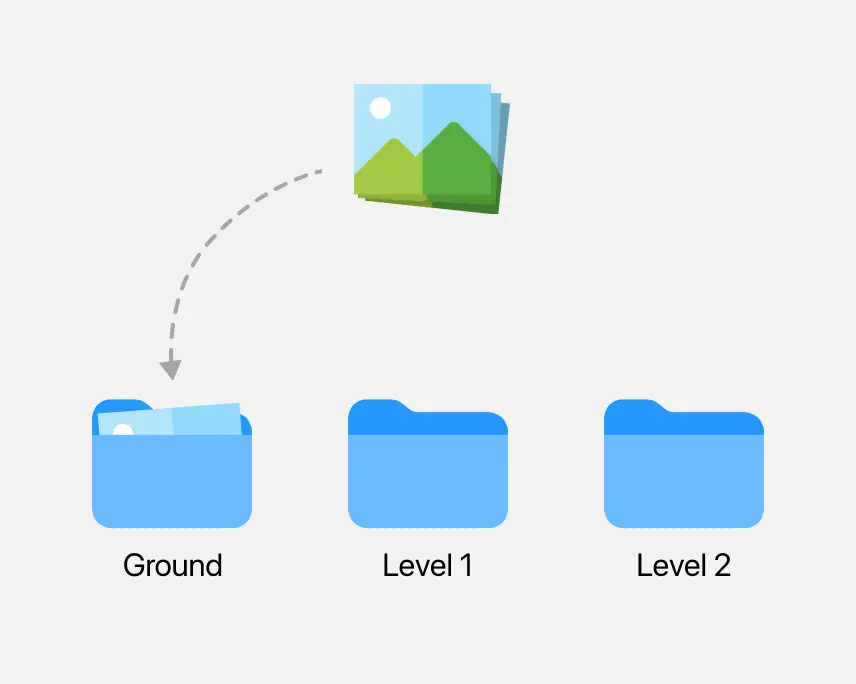
Each folder can have a plan attached to it. You have the option to attach a plan to each folder (or not). When a plan is attached you can pin photos to these plans.
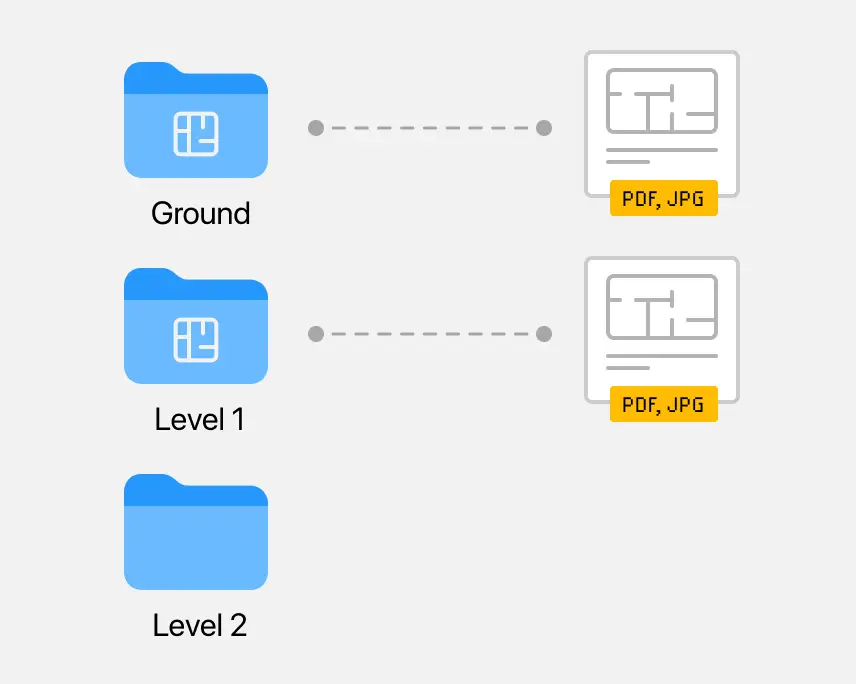
A SiteCam project can have some folders with plans and some without plans. You can edit the folder structure at any time.
Creating a Project Where You Can Pin Photos to Plans
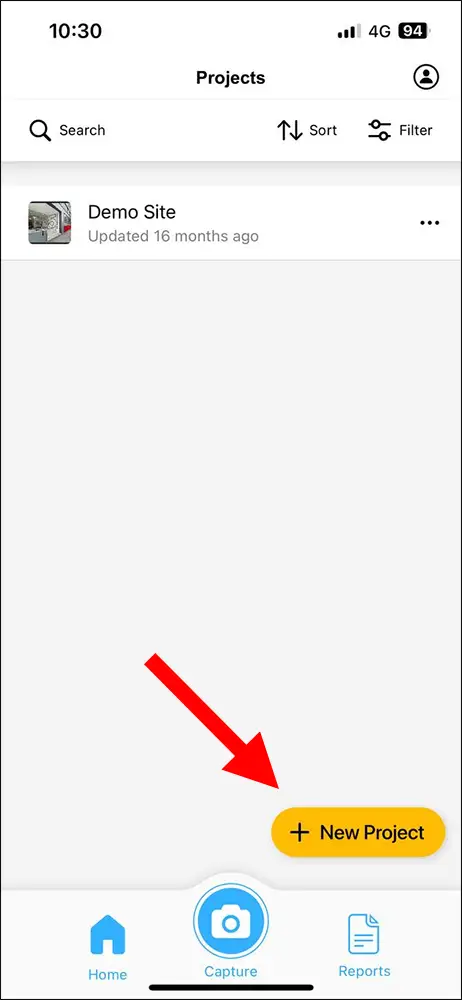
1. Open the SiteCam app on your iOS or Android device.
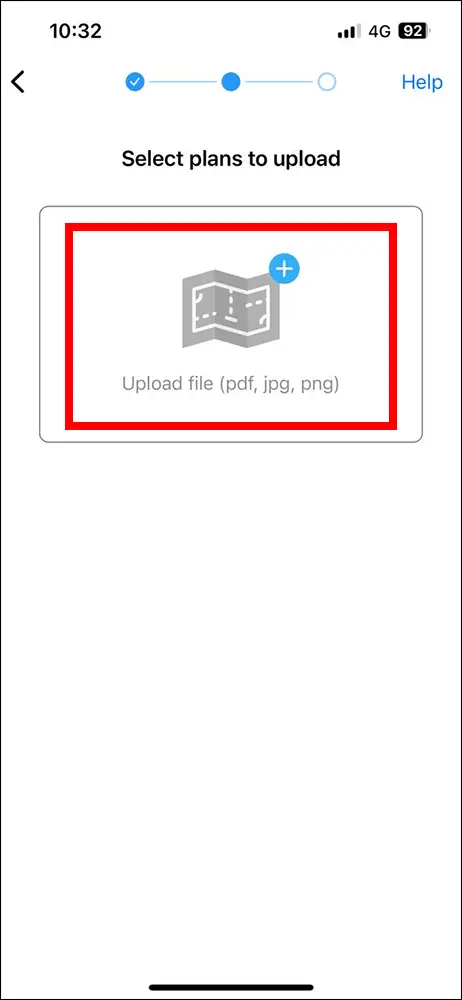
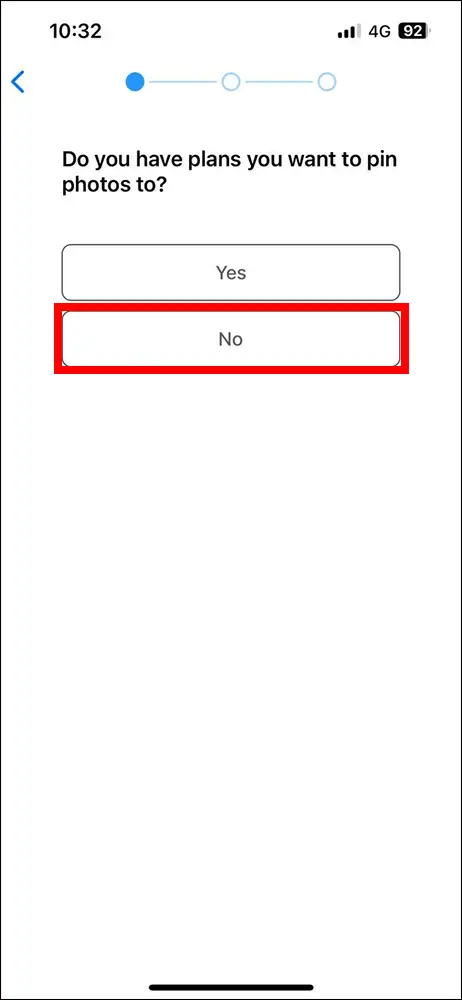
4. Select the Yes option if you have plans you want to pin photos to.

5. Tap on the Upload file icon to open the file browser on your device.
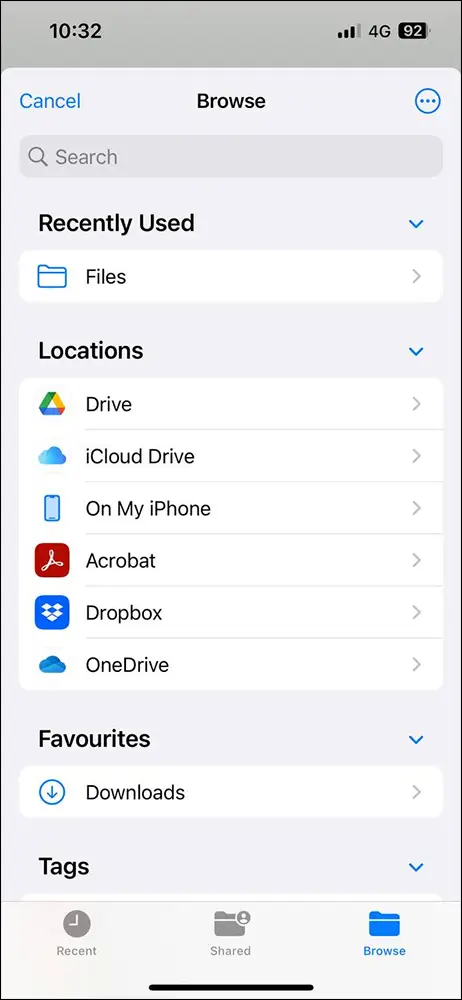
6. Navigate to where your plans are saved.
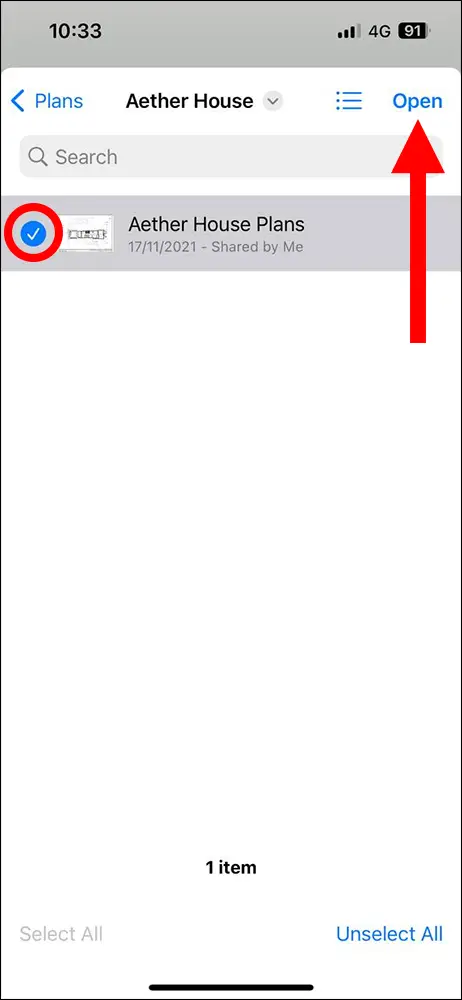
7. Select the plans you want to upload and press the Open button.
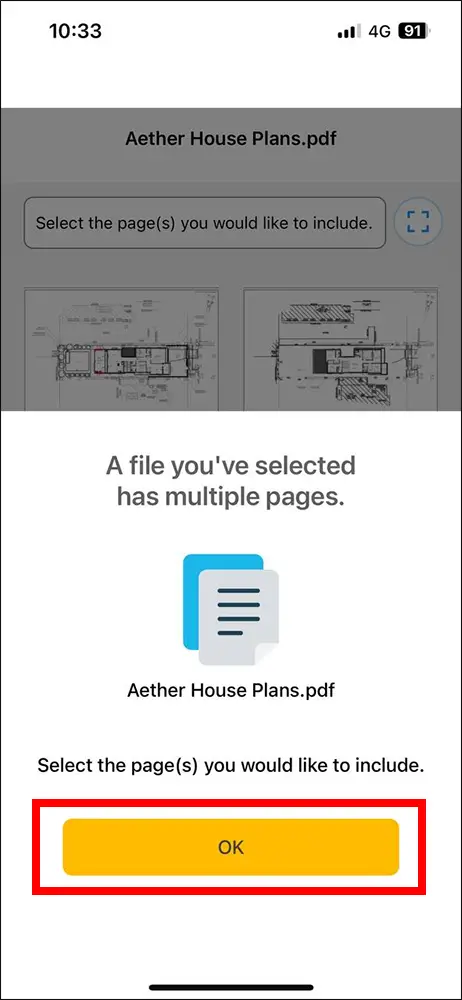
8. SiteCam will detect if the document you selected has multiple pages. Press the OK button to proceed. If your document only contains a single page, skip to Step 11.
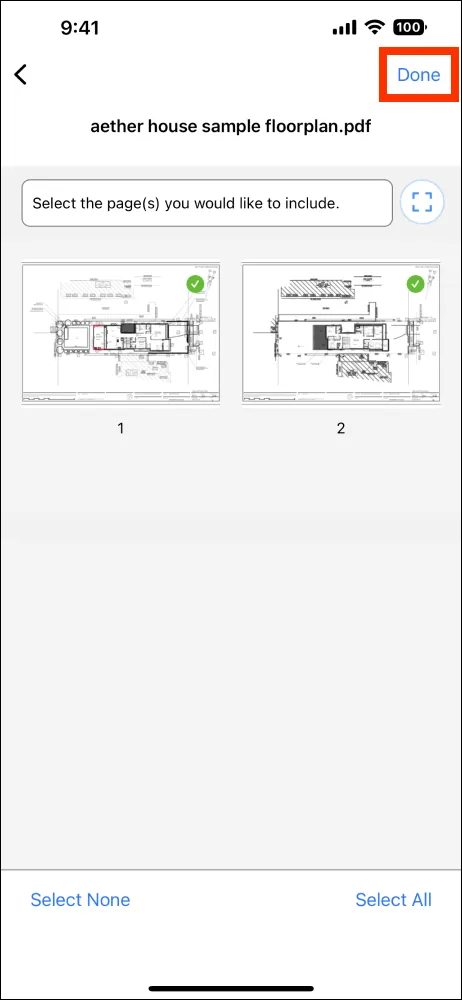
9. Select the pages you want to include in the project. To select all the pages in the PDF, press the Select All button at the bottom of the screen.

10. Once you have selected the pages to load, press the Done button.
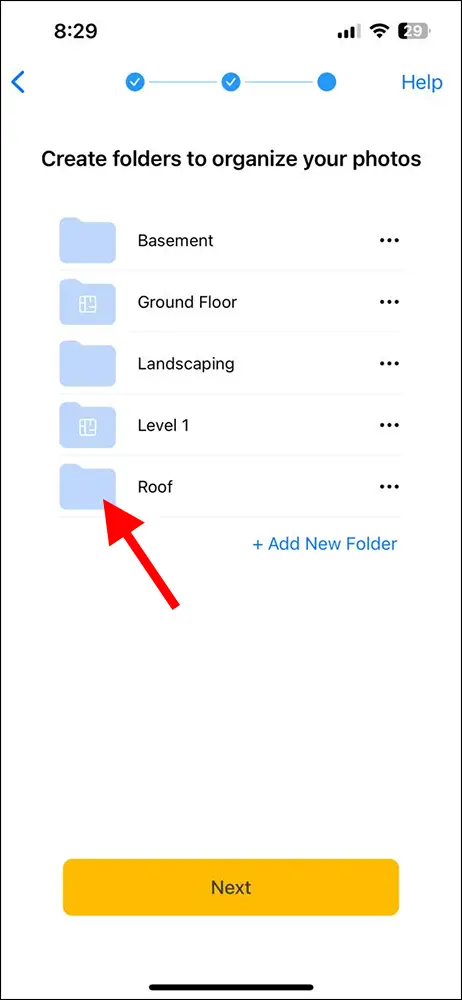
11. A new folder will be created for each page that was selected.
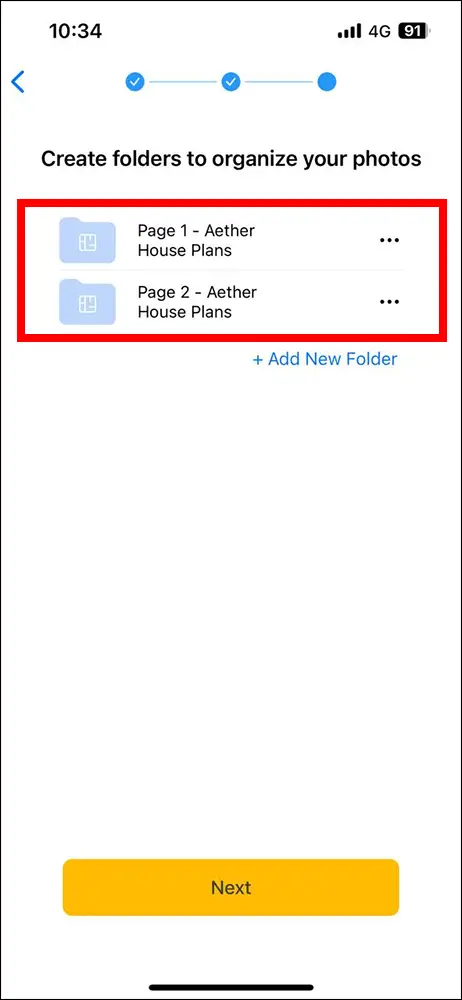
To rename the folders to something more recognizable, tap on the 3 dot menu next to each folder and select “Rename folder”.
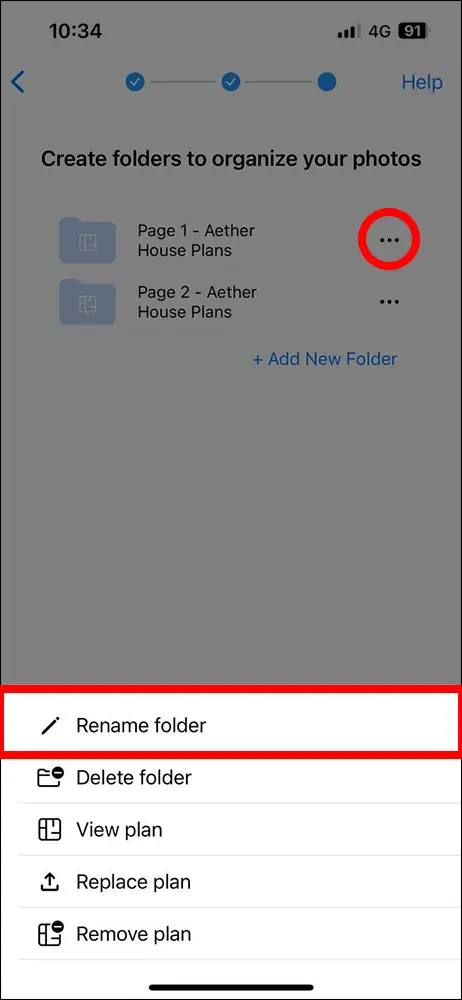
You can also access other functions through this menu:
- Delete folder – Remove the currently selected folder
- View plan – View the plan that is attached to the folder
- Replace plan – Attach a different plan to the folder
- Remove plan – Delete the plan that is attached to the folder
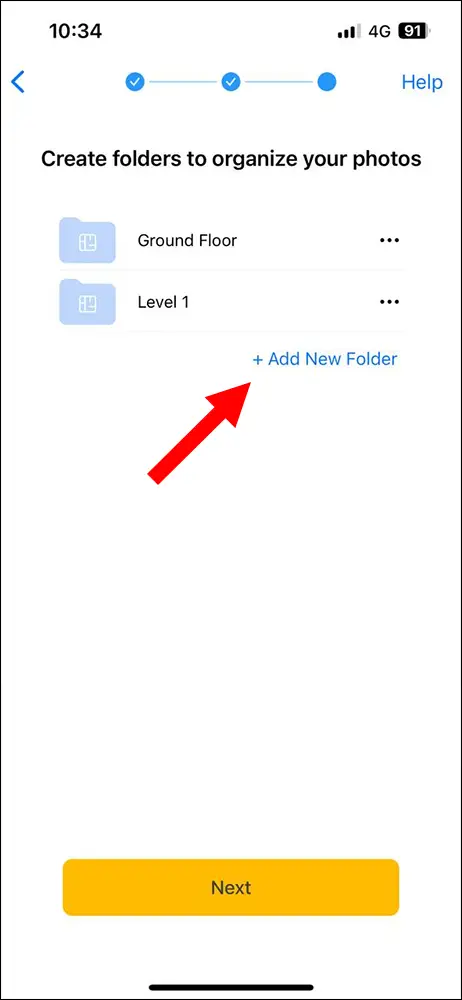
12. To create more folders, press the + Add New Folder button.
13. Finally, invite your team to the new project by tapping on the Invite Your Team + button.
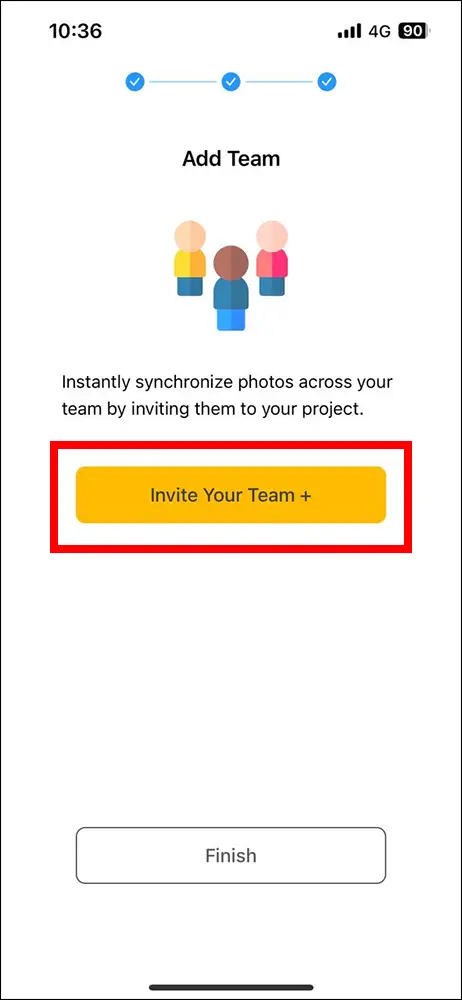
That’s it! Press the Finish button to complete the project creation process.
Creating a Project Where You Don’t Pin Photos to Plans
1. Open the SiteCam app on your iOS or Android device.
4. Select the No option if you don’t have plans to upload to your project.
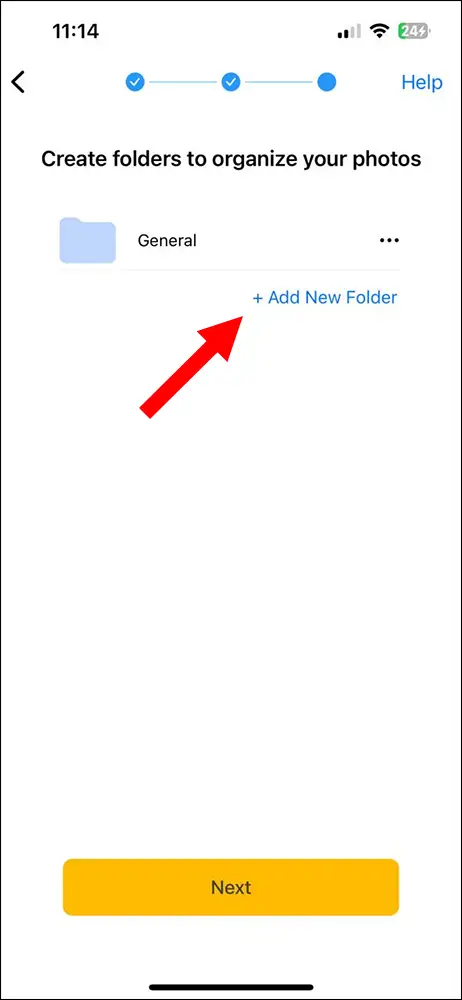
5. Create the folder structure you want to use to organize your photos.
Press the + Add New Folder button to make a new folder.
Rename a folder by tapping on the 3 dot menu and selecting Rename folder.
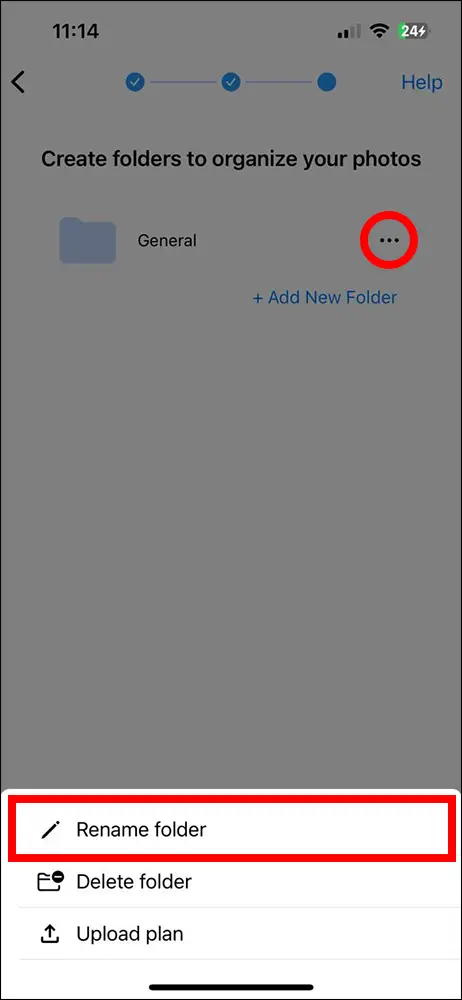
You can access other functions through this menu too:
- Delete folder – Remove this folder
- Upload plan – Attach a plan for the currently selected folder
6. When you are happy with your folder structure, press the Next button to proceed.

7. Finally, invite your team to the new project by tapping on the Invite Your Team + button.
Press the Finish button to complete the project creation process.